Wireless USB
The Wireless USB is a small USB stick that links ncSender to your wireless accessories: the Pendant, AutoDustBoot and RGB LED. One Wireless USB serves all of them at once. Plug it into the computer running ncSender and leave it there.
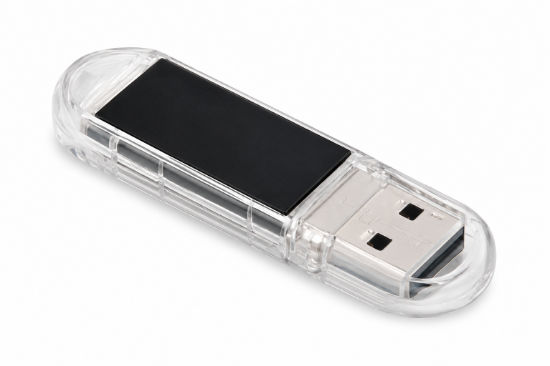
What it does
- Radio link between ncSender and each paired accessory. No Wi-Fi network is needed.
- Several devices at once. On firmware v0.3.0 and newer, one Wireless USB holds up to 8 paired devices. Older firmware pairs a single pendant only.
Accessories
Pairing, activation and firmware updates for the Wireless USB and every accessory are in Accessories.
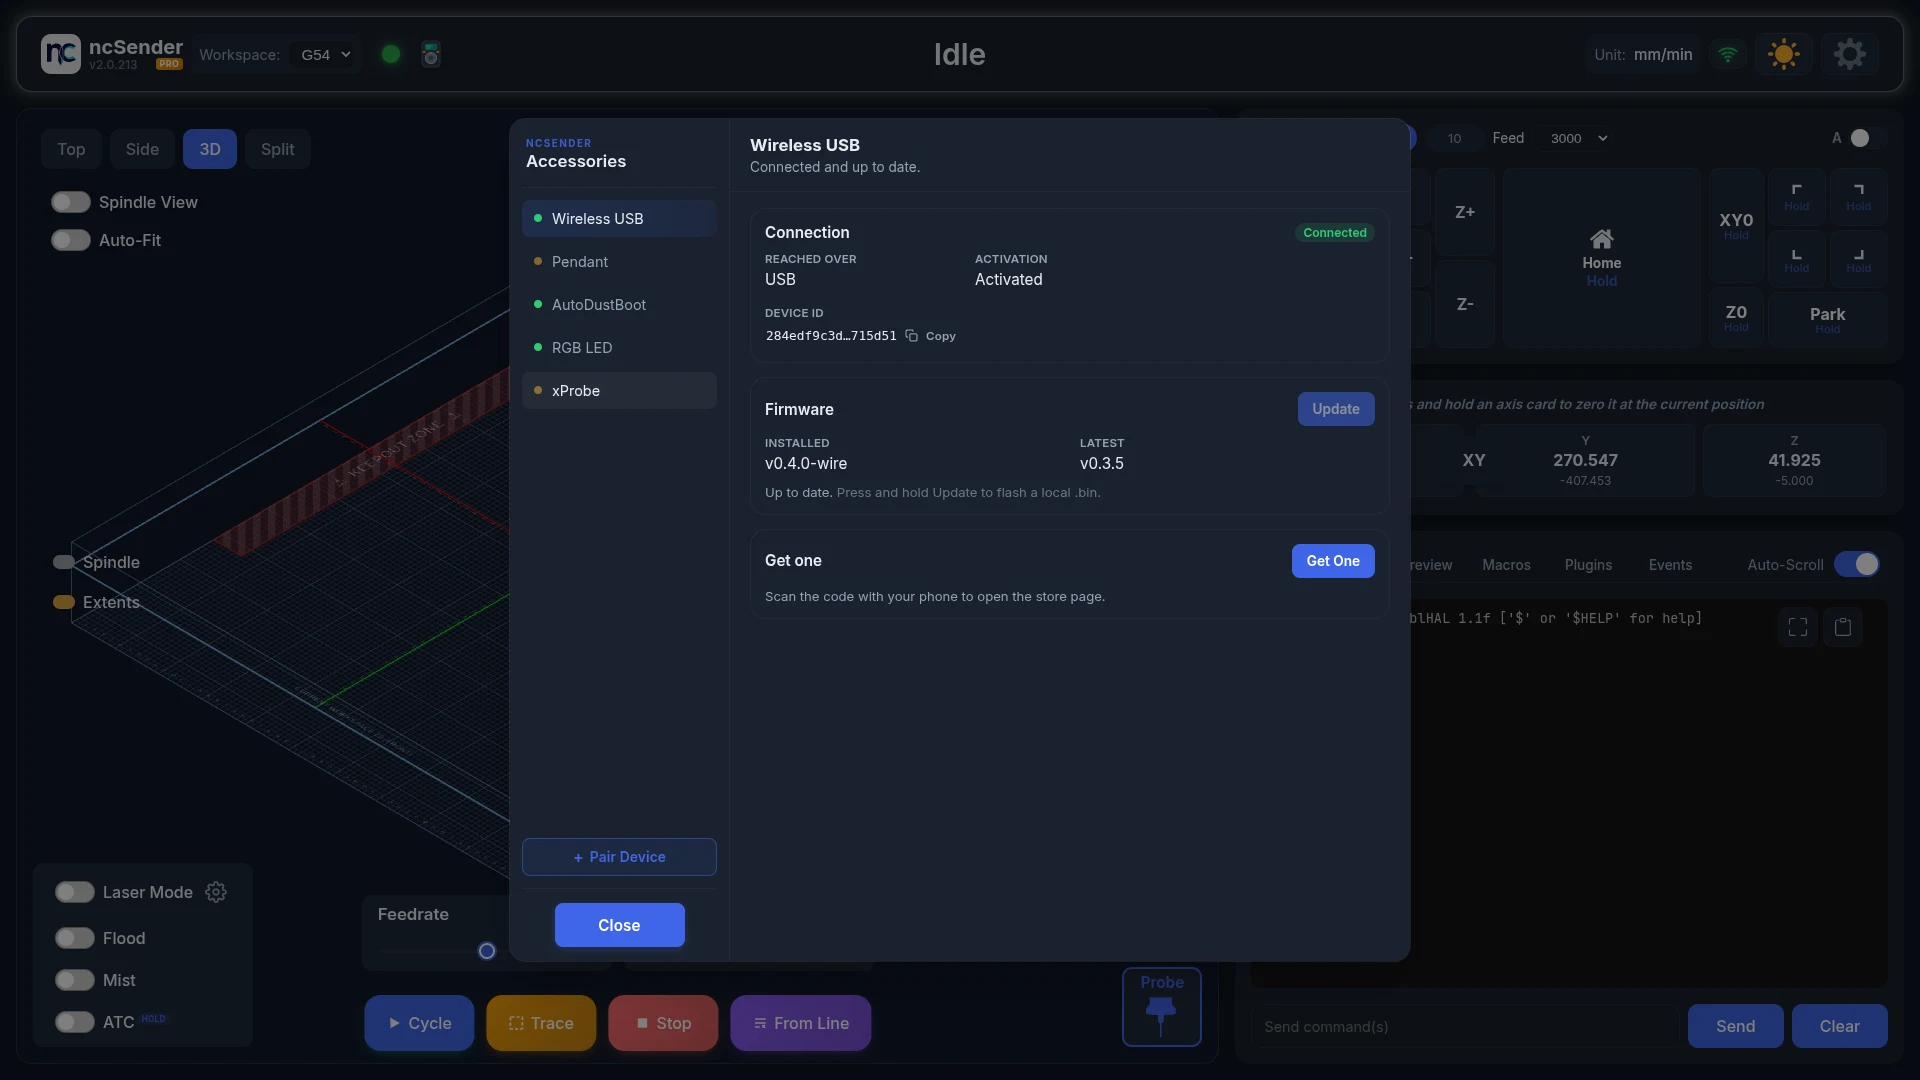
To open it: click the pendant icon in the ncSender toolbar. Its tooltip reads ncSender Accessories.
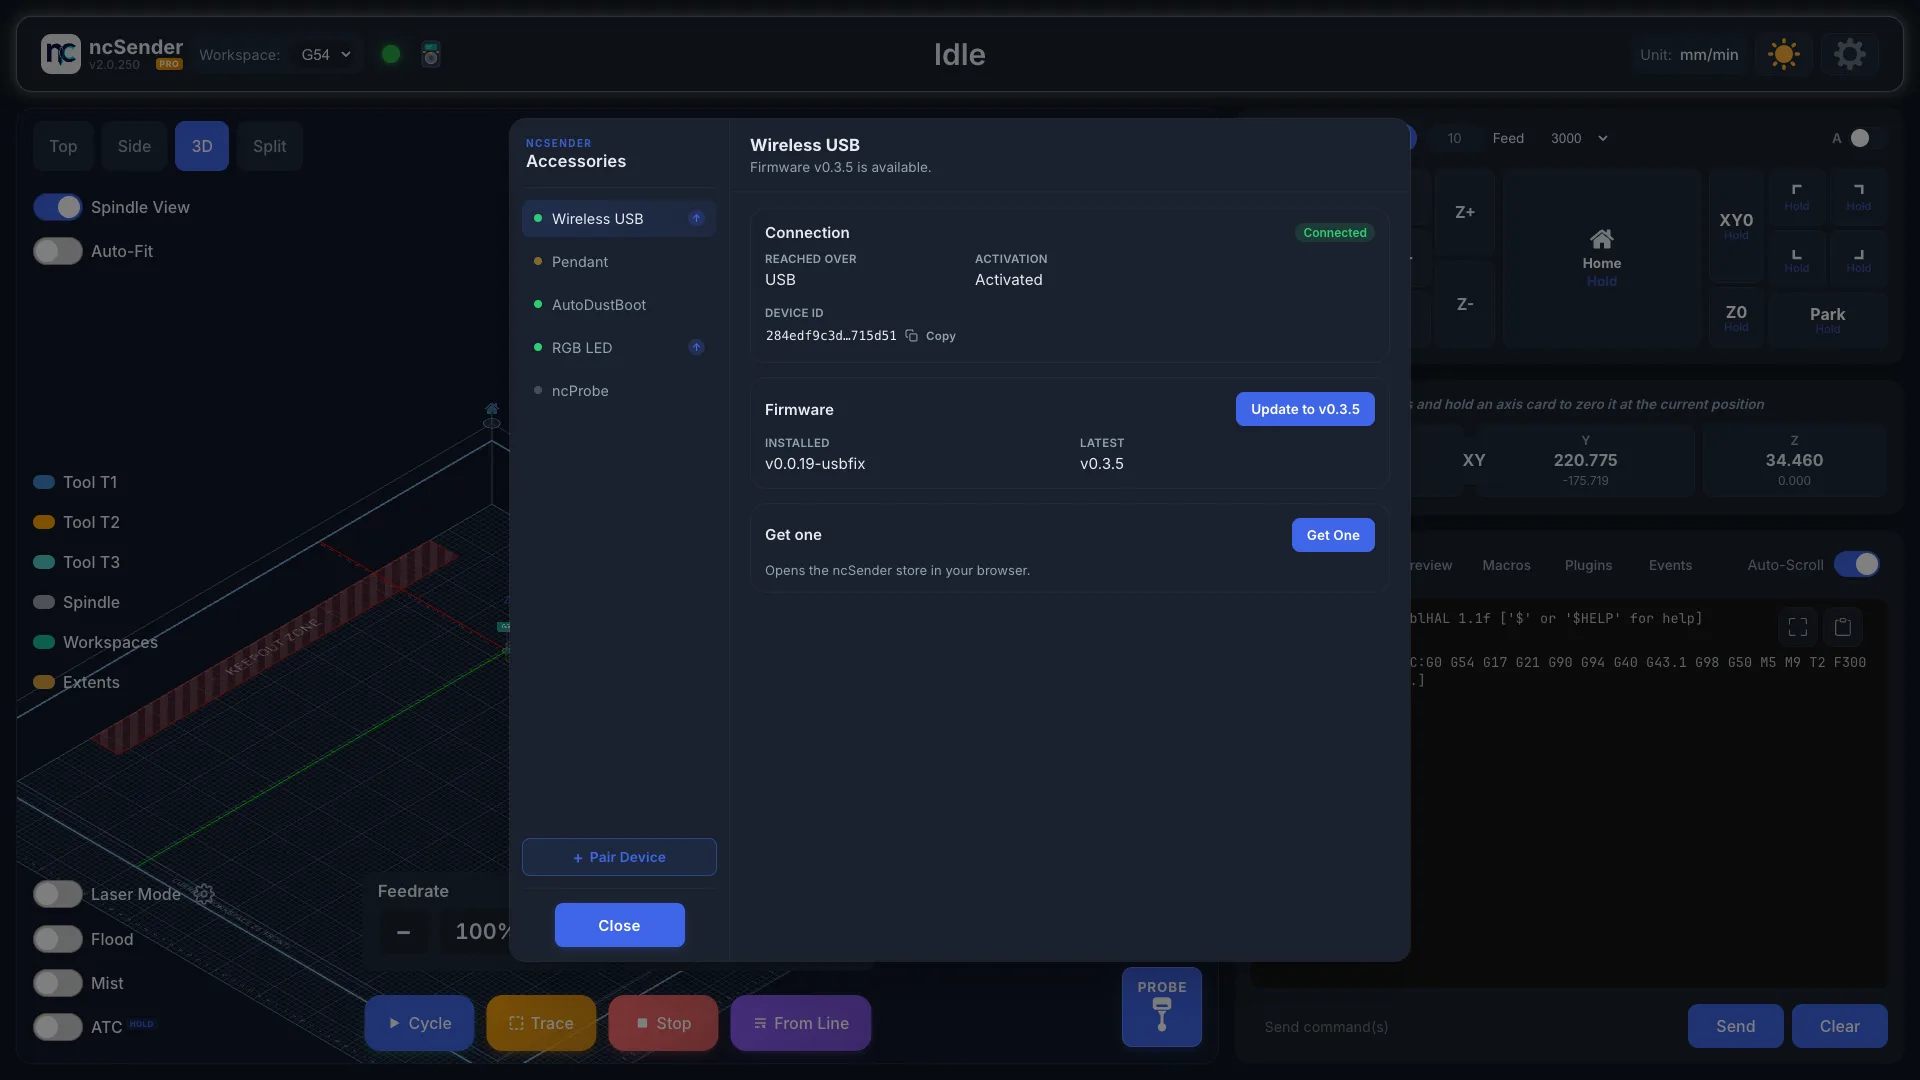
Pick a device in the list to see it. For each device you can:
- Connection — see whether it is connected, whether it is reached over USB or Wireless, whether it is activated, and its Device ID. Click Copy to copy the Device ID for support.
- Firmware — see the installed and latest versions, and update.
- Activation — activate the device. Only shown when it needs it.
- Configuration — for the AutoDustBoot and RGB LED, install their plugin to change their settings.
- Pairing — unpair the device. Not shown for the Wireless USB itself.
- Get one — open the store page. On an ncSender kiosk this shows a code to scan with your phone.
Marks next to a device in the list:
- ! — the device needs activation.
- ↑ — a firmware update is available.
Accessories opens on the device that needs attention first. Devices that are not on sale yet are marked Coming Soon or Not available.
Activating
The Wireless USB must be activated before you can pair anything to it. Until then, Pair Device stays greyed out.
- Open Accessories and select the device marked !.
- Click Activate.
- If the device has been activated before, that is all. If it is new to the store, enter the Installation ID that came with it, then click Activate.
The same steps activate the Pendant, AutoDustBoot and RGB LED.
Pairing a new device
- Open Accessories.
- Click Pair Device. The Wireless USB listens for new devices for 60 seconds. The button counts down.
- On the accessory, start pairing:
- Pendant — Setup → ESP-NOW → Scan
- AutoDustBoot — hold Retract ▲ and Extend ▼ together (see AutoDustBoot →)
- RGB LED — power it on
- Check it. Select the device in the list. It shows Connected, and the Pairing card reads Paired to this Wireless USB.
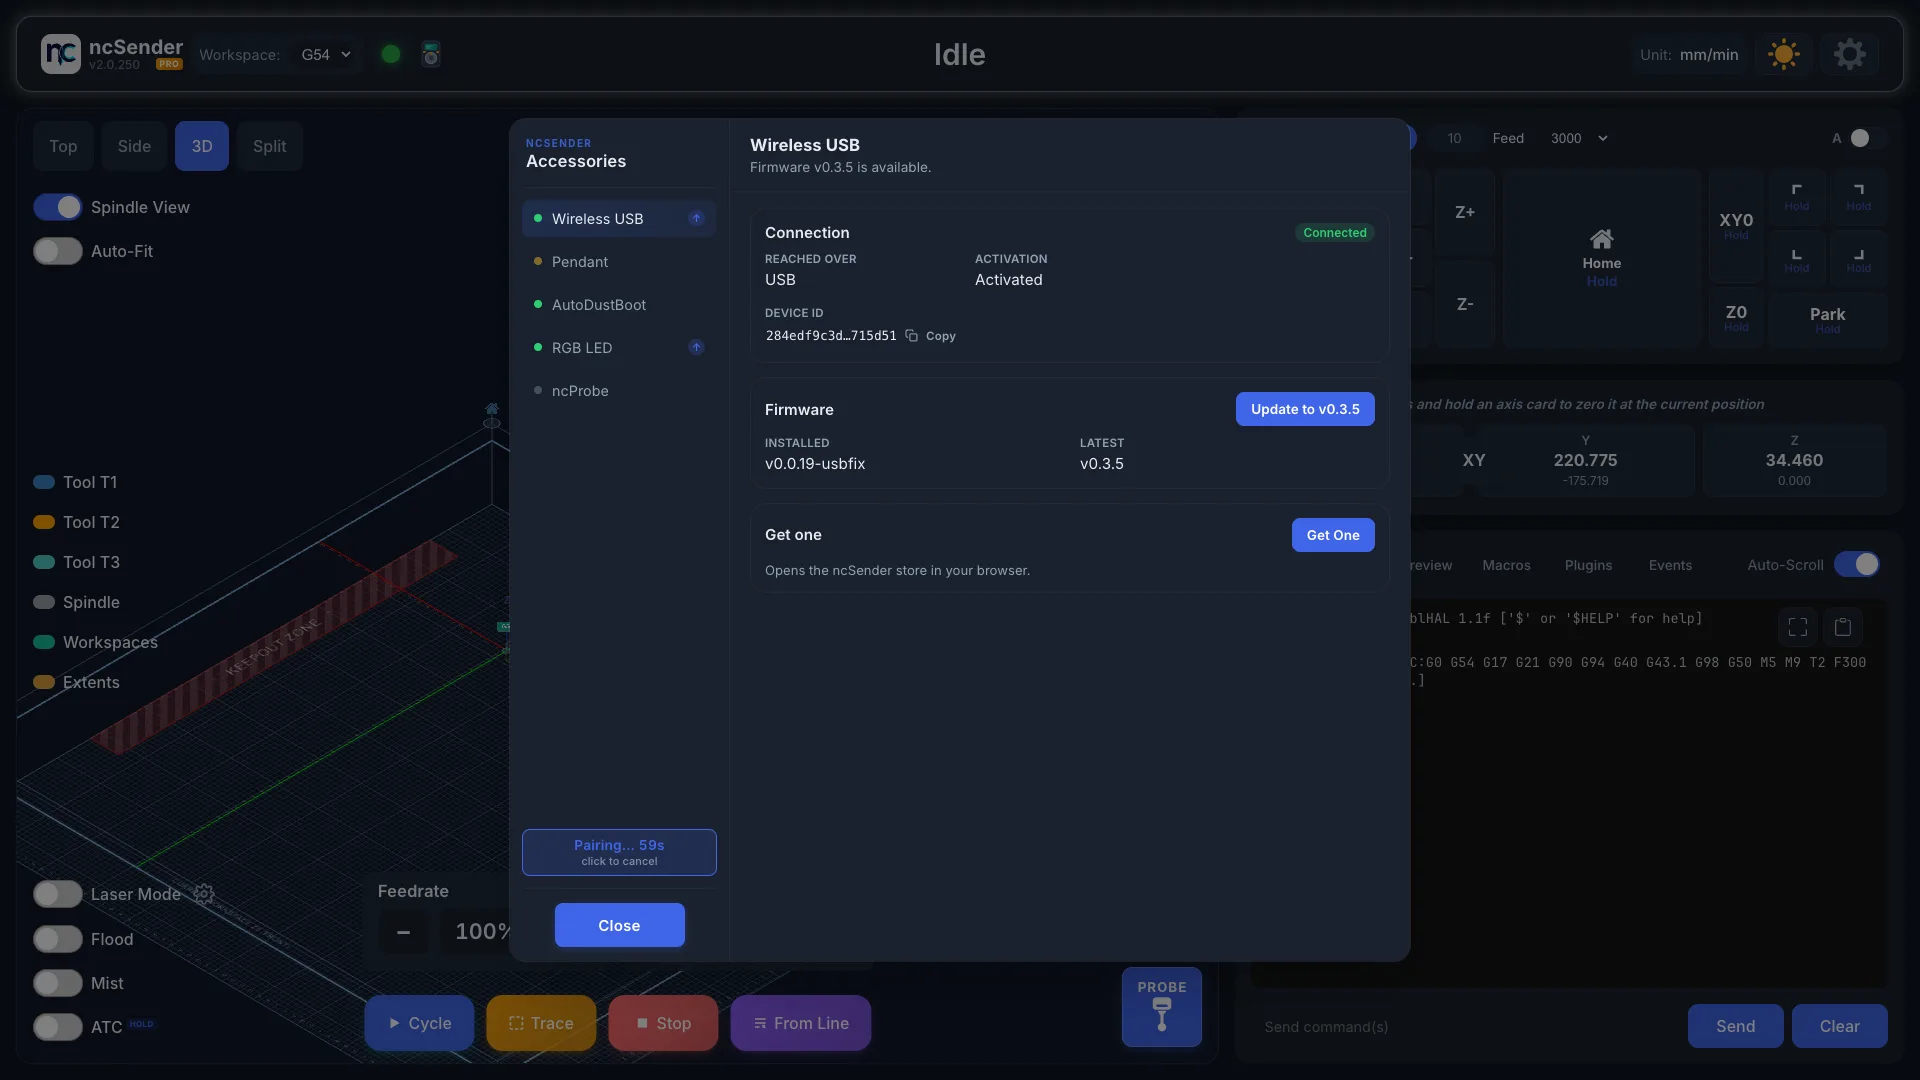
To stop early, click the counting button again.
Missed the window?
Start pairing on the accessory as soon as you click Pair Device. If the countdown runs out, click it again.
Unpairing a device
- Open Accessories and select the device.
- In the Pairing card, click Unpair.
- Confirm with Unpair.
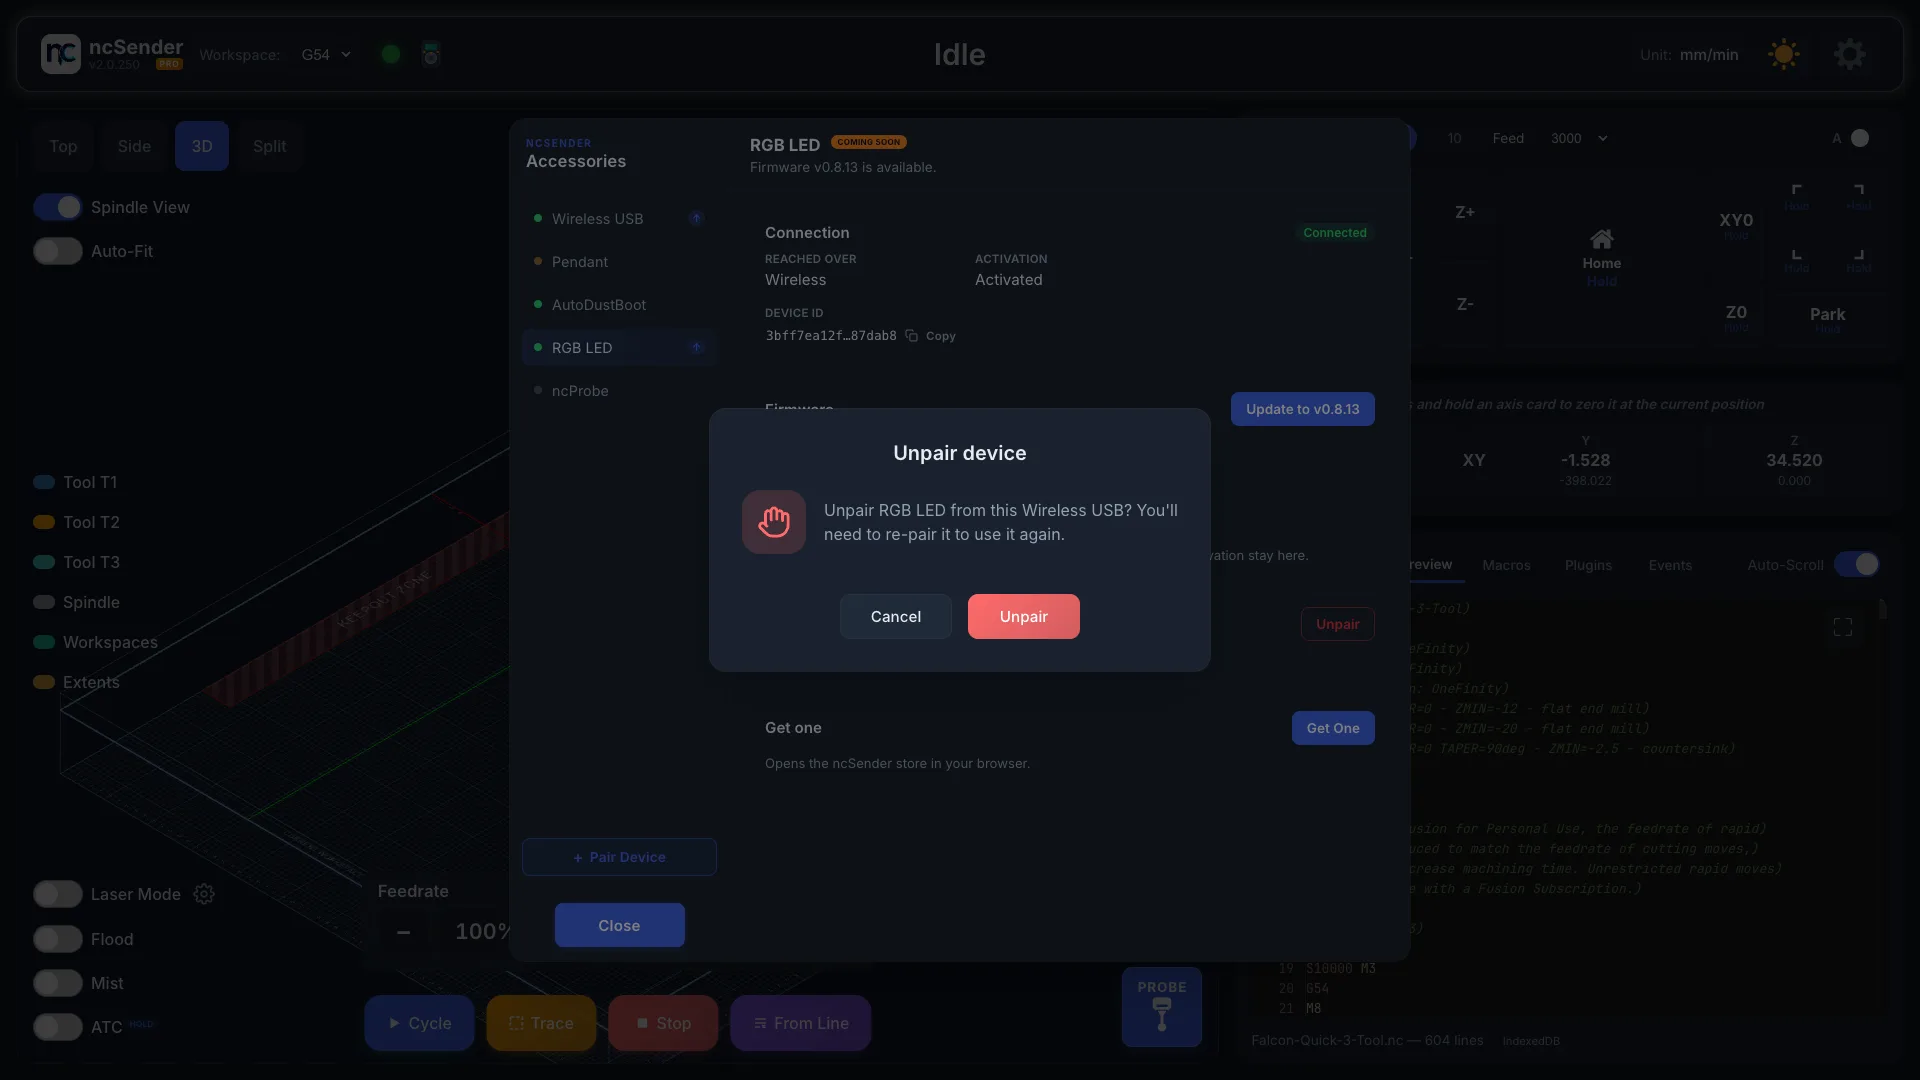
To use the device again, pair it again. The device may still show itself as paired on its own screen until you clear it there too.
Updating firmware
On Wireless USB v0.3.5 or newer, update the Wireless USB and every accessory from Accessories:
- Open Accessories and select the device. A ↑ mark means an update is ready.
- In the Firmware card, check Installed and Latest.
- Click Update to v….
- Keep the device powered and connected until it finishes.
If an update is interrupted, the current firmware keeps working. Just start the update again.
- Accessories with a USB cable plugged in update over the cable. Otherwise they update wirelessly. The RGB LED always updates wirelessly.
- While one device is updating, pairing, unpairing and other updates wait.
Flashing a firmware file
To install a .bin file you downloaded:
- Select the device in Accessories.
- Press and hold Update for about a second.
- Pick the file.
If the file name doesn't look like firmware for that device, ncSender warns you before flashing. ncSender refuses a file that belongs to a different accessory.
Wireless USB older than v0.3.5
A Wireless USB older than v0.3.5 cannot update itself. Flash v0.3.5 once from your browser. After that, use Accessories for every update.
On v0.3.3 and older, wireless updates for the pendant, AutoDustBoot and RGB LED stall and never finish. Flash v0.3.5 first.
You need Google Chrome or Microsoft Edge (v89+). Safari and Firefox don't work.
- Quit ncSender on every computer this Wireless USB is plugged into. If ncSender is running, the flasher can't connect.
- Open the flasher in Chrome or Edge: Wireless USB Flasher →
- Pick v0.3.5.
- Put the Wireless USB into boot mode:
- Press and hold the small BOOT button on the Wireless USB.
- While still holding, plug it into your computer.
- Keep holding for about 1 second, then release.
- Click Connect in the flasher, and pick the device that just appeared (usually ESP32-S3). If nothing appears, the Wireless USB isn't in boot mode. Unplug it and repeat step 4.
- Click Flash firmware. It takes about 10–20 seconds. Don't unplug the Wireless USB while it's flashing.
- At 100%, unplug the Wireless USB and plug it back in.
Checking the Wireless USB firmware version
Open Accessories, select Wireless USB, and look at Installed in the Firmware card. The Wireless USB also shows its version on its own screen when it powers on.
After a Wireless USB update
If an accessory shows as not connected after a Wireless USB update, even though both devices power on normally, pair it again. The pendant needs firmware v1.0.16 or newer to pair with a Wireless USB on v0.3.x.